I'm not sure where the name of this recipe came from because it's been handed down from generation to generation in his family. Even my mother-in-law wasn't sure were the name had originated. It's not a pudding at all....it's baked apples with a cake-like topping. Whatever the name, it's called comfort food filled with lots of memories to my husband.
For the best results, use Granny Smith apples--lots of them! In these pictures, I've used 4 really large apples but that wasn't nearly enough after they had cooked down. I would recommend using at least 8 (yes, really!) large Granny Smith apples. Pile them high in the pan (and over the top of it) because they will cook down.

Apple Pudding
8x8 dish
8 - lg. Granny Smith apples, sliced thin
1/3 – ½ C. sugar
3 tsp. apple pie spice
Preheat oven to 350*
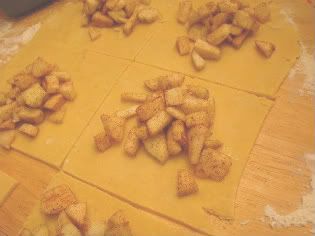
Preparing Apples:
Slice apples thin and pile high in dish. Sprinkle with sugar & spices and set in oven so that the apples can start cooking while you are preparing the cake topping.
 I made two errors right off the bat...I chopped up the apples instead of thinly slicing them and I didn't use nearly enough of them to (over)fill the pan. Oh well, we gobbled it up nonetheless.

Cake Topping
Sift together in a bowl:
1 ½ C. flour
2 tsp. baking powder
½ tsp salt
Cream together in another bowl:
1/3c. sugar
¼ C. butter flavored shortening
1 egg, whipped
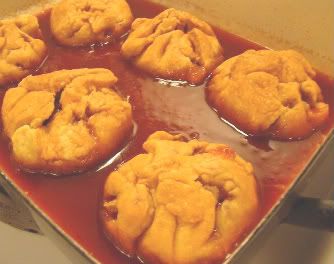
Alternate flour mix with ¾ c. milk into the creamed sugar mixture. Spoon on top of apples. Bake for approx. 35 minutes or until light golden brown.
 Enjoy!


